The awesome Matt Garvey recently launched KICKSTARTING YOUR FIRST COMIC, a companion book to his previous KS campaign MAKING YOUR FIRST COMIC.
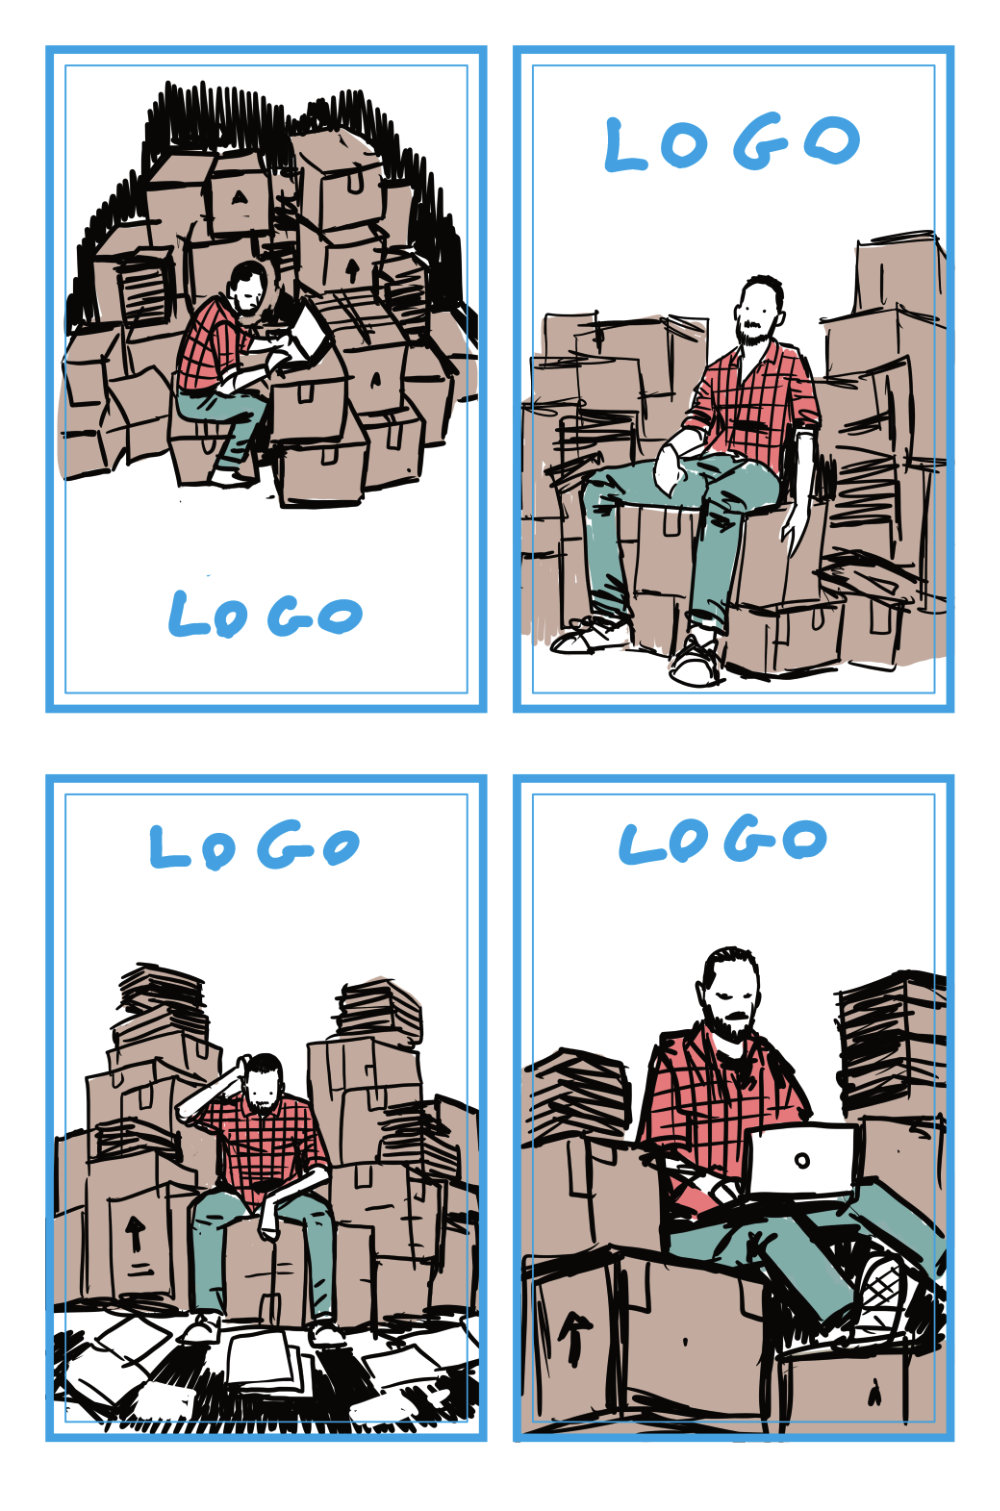
I had a lot of fun working on the cover, adding little details/easter eggs from Matt’s extensive back catalogue.
Check it out here on Kickstarter!
Campaign deadline: Fri, July 25