


Been squeezing in some true grit texture supply brush tests from their free sampler. I’ve had this seriously generous collection of goodies resting in my inbox for a while, glad I finally imported ’em.
Heres some of my favs so far:
Something just kind of clicked with the rusty nib brush especially, love the line variation and the rough paper feel. Might be my new favourite inker… just don’t tell real g pen.


Is it good? Is it fun? I’ve been asking myself this lately when I’m drawing in my wee Royal & Langnickel sketchbook. Seems obvious but sometimes you forget y’know, drawing should be fun …otherwise, why bother? Anyway these were fun, not necessarily good but I’m enjoying sketching again… and colouring with Frenden brushes in CSP is always a blast.


I snapped some quick photos of my sketchbook to try out some Frenden brushes in CSP. I’ve been getting increasingly bored with digital drawing lately (just feels like a slog) but colouring on the iPad is still fun.
The search continues for my go-to textured colouring brush, y’know… the magic brush. I feel like I’ve come close to it on a few things over the years but I colour so infrequently that I can never quite remember the ones I’ve used or the combinations that have worked… I’m old.

Sketched the Finnish rapper and singer Käärijä in procreate after he melted the stage at the Eurovision semifinals, not a great likeness but I had fun.


I attempted #draweurovision but it’s pretty relentless, I only managed quick pencil sketches of a handful of artists, I’ve no idea how the brilliant Dan Berry manages to draw everyone and add watercolours every year.


A few more sketches of the awesome Käärijä.

Finished a page that I started last year to test a gel pen brush in CSP, it’s not bad, just felt like penciling for a bit too.


A fun wee spread from my A5 sketchbook, I flatted it really quickly in CSP with the intention of trying out some colouring techniques sometime.

Couple of days late but why break tradition? Happy Alien daaaay! Party like it’s 2122!
Inspired by Russell Mark Olson’s Patreon I’ve been wanting to get back to drawing with ink again, specifically inking traditionally over blue line or non-photo blue on bristol board.
Alongside other work, Russell produces a page each week for Gateway City starting with pencil layouts before progressing to digital pencils that he prints as non-photo blue for inking.
Despite owning a large A3 printer I’ve never tried printing blue line comic pages. I’ve inked over non-photo blue pencil in the past but I haven’t looked seriously at a specific workflow for removing blue lines digitally from traditional inks.
I’m pretty sure Russell uses Photoshop to remove the blue line in his pages prior to colouring and I figured I’d be able to do something similar in Affinity Photo. There’s probably a macro or an obvious technique but I immediately hit a wall trying to achieve this.
I mostly use Clip Studio Paint these days and looked at it instead. Similarly, it’s not obvious how to remove blue line in CSP but I did find some basic tutorials on Pinterest/tumblr and also this helpful quick tips video from Celsys and Scott Drummond.
It’s prob not as efficient as the workflow in Photoshop but once I record it as an auto action I should hopefully save time on future pages.
I’ve been studying a page from Jeremiah by Hermann and thought it’d be useful to try the scanning prep quick tip on it and outline the steps here on the blog.

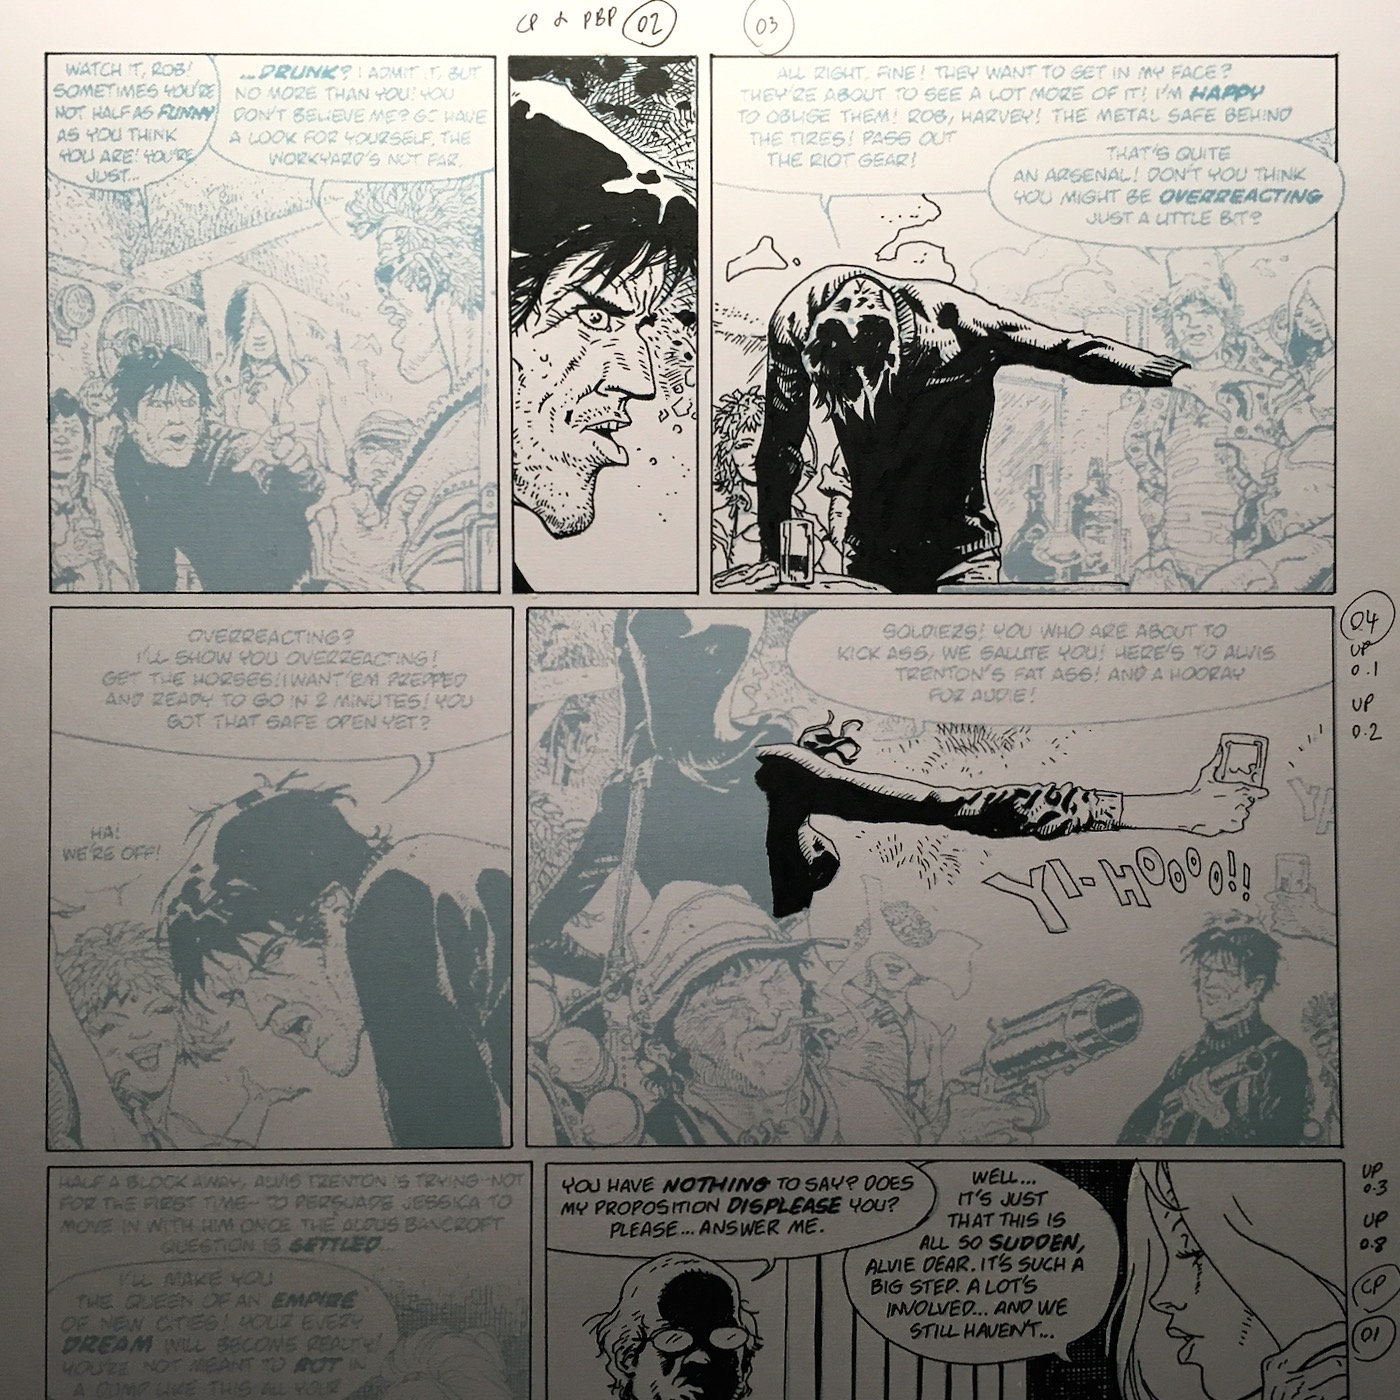
Remove blue line from comic pages using Clip Studio Paint

1. Import scan/image to CSP

2. Tone Curve
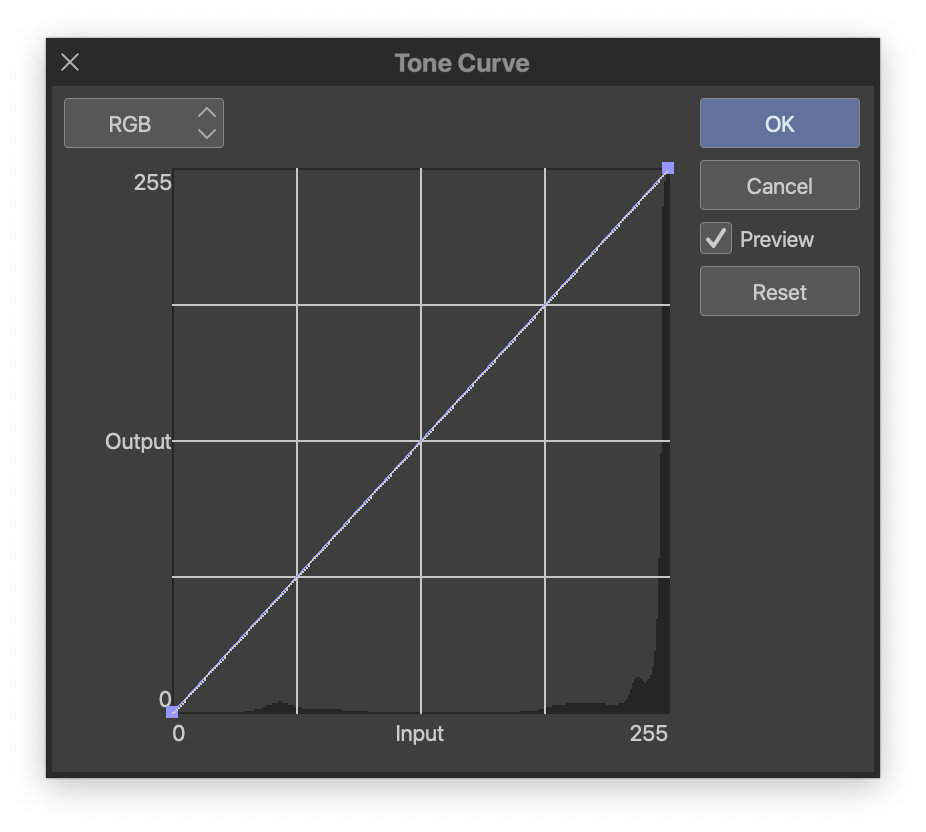
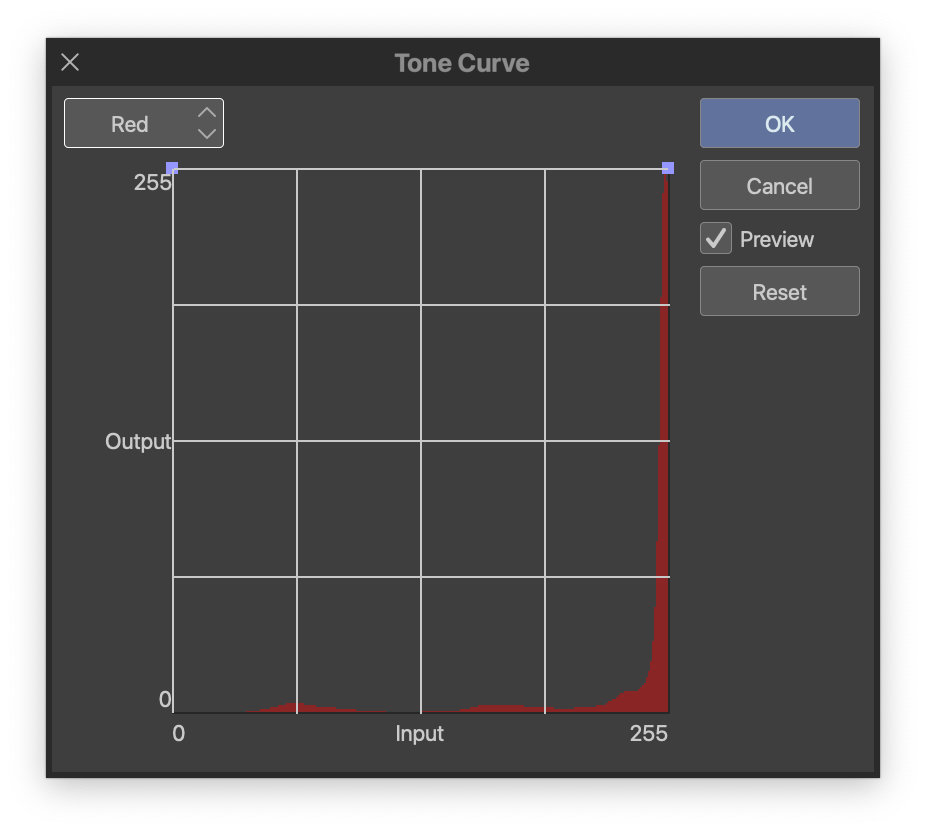

3. Hue/Saturation/Luminosity

4. Level Correction

5. Remove Dust
Although it’s not mentioned in the video, another great feature in Clip Studio Paint is the remove dust filter. There were a few small artifacts left over from the non photo blue and this removed them outright. Just adjust the dust size to eliminate any dirt, pencils, etc.


Pretty happy with the final result on this but it’ll be interesting to see how these steps affect dry brush, ink washes, etc.
If you’ve any other suggestions for removing blue line or some CSP tips I’d love to hear ’em.
Started off the month by messing around with this skull from May 2022 in clip studio.

Can’t remember who recommended the [AA] Gel Pen on twitter but I’m loving the line, reminds me of MUJI Gel Ink pens.
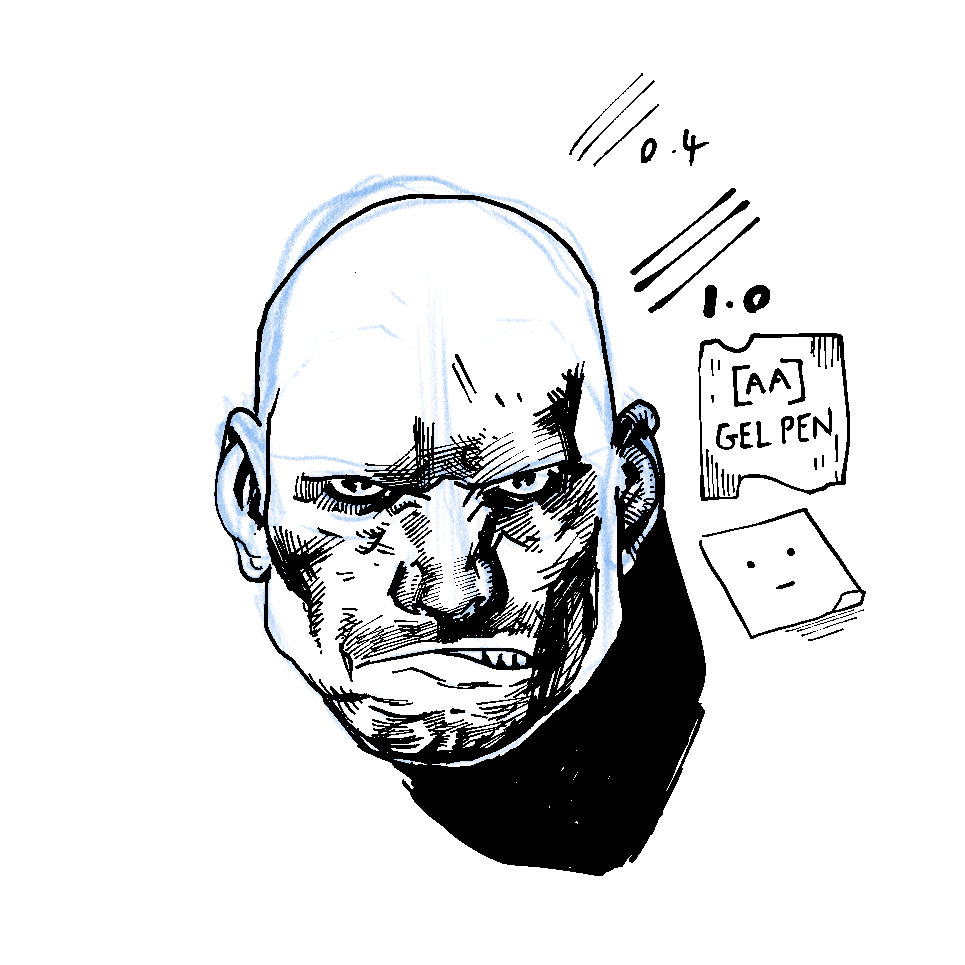
Some pencils and a bonus skull that didn’t make it onto last months page.


I’ve been slowly adding to this page in clip studio during breaks at work. Mostly drawn using the default g-pen with some texture/tone here and there.